This article will guide you on how to do CI/CD pipeline setup with GitLab.
Preface
Be sure you have added your Capacitor app first to Capgo, this tutorial just focuses on the upload phase. If you need to add your app to Capgo, you can follow this Tutorial.
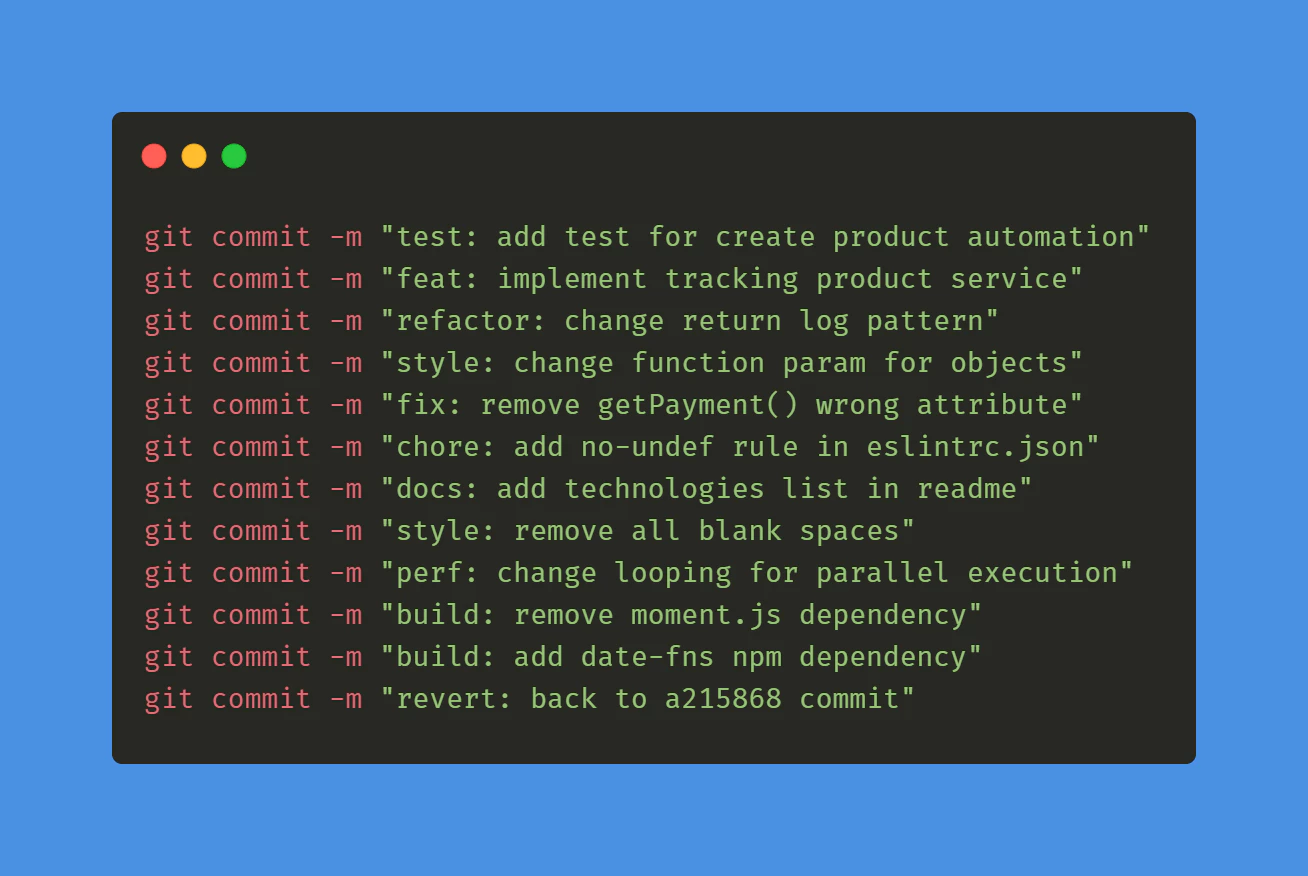
Commit convention
First you need to start following the commit convention conventional commits` this will help the tooling understand how to upgrade the version number, it’s 5 min to learn it.
GitLab CI/CD for Tag
Create a .gitlab-ci.yml file in the root of your GitLab repository with the following content
 stages:
      - tag

 bump_version:
   stage: tag
   only:
     - main
  except:
    variables:
  - $CI_COMMIT_MESSAGE =~ /^chore\(release\):/
  script:
   - git config --global user.email "gitlab@yourdomain.com"
   - git config --global user.name "GitLab CI/CD"
   - git checkout $CI_COMMIT_REF_NAME
   - git pull origin $CI_COMMIT_REF_NAME
   - npx capacitor-standard-version
   - git push origin $CI_COMMIT_REF_NAME --tags
Replace ”gitlab@yourdomain.com” and “GitLab CI/CD” with your GitLab email and username in the script section. This configuration triggers the job only on pushes to the main branch and excludes commits with messages starting with “chore(release):“.
GitLab CI/CD for Build
Add another stage to your .gitlab-ci.yml file for the build:
    stages:
      - deploy

   deploy:
     stage: deploy
     only:
       - tags  # This job will only run for tag pushes
     script:
       - apt-get update -qy && apt-get install -y nodejs npm
       - npm install -g @capgo/cli
       - npm ci
       - npm run build
       - npx @capgo/cli bundle upload -a $CAPGO_TOKEN -c production
     variables:
       FIREBASE_CONFIG: $FIREBASE_CONFIG  # Define this in your GitLab project settings
     environment:
       name: production
Ensure you have your Capgo API key (CAPGO_TOKEN) added as a CI/CD variable in your GitLab project. Go to your project in GitLab, navigate to Settings > CI/CD > Variables, and add a variable named CAPGO_TOKEN with your API key value.
Customize the build script to match your specific project’s build process, such as changing the npm run build command.
Conclusion
Here we are! We took an extra step in our tech journey. In modern software development, CICD is an essential factor to be considered. So that I’m hoping this guideline makes sense to everyone.

